Tuesday, June 26, 2012

Adventures in Homeownership: Closet Transformation


Compared to many girls, my shoe collection really isn't that bad. But, I rarely wear what I do have because they were stuck in boxes and not visible. My goal was to change that.

We have a small closet in our master bedroom that I really wanted to use as a shoe and purse display. So for the past few days, I have gotten to work on my closet transformation.  

This is what I started with... 

Wanting something to diplay my shoes, I decided to go with a closetmaid 15-cubby organizer. Okay, two. I bought mine at my local Target, but you can get it just about anywhere. They were pretty easy to put together, but it did go much faster with two people. 

ClosetMaid 15-Cube OrganizerClosetMaid 24-Inch Horizontal Organizer

Okay, fine 30 cubbies turned out to be... well, not quite enough. So while browsing in Home Depot, I bought two closetmaid 24-inch horizontal organizers. They are just baby book shelves. Since all of the closetmaid products are designed to fit together, I was able to stack all four products together into one tower of shoe fabulousness. (Cue angelic musical flourish.)


But I still needed to display my purse collection. Oh, my purse collection. Sigh. I do love them, and they are so pretty, I wanted to display them so I bask in their beauty every time I opened the closet door. At first I thought I would just buy a few 3M hooks -- that would totally work. But it wasn't pretty enough. Then I had an epiphany. Currently, I hang my purse from my dresser drawer knob*, just to keep it out of the way. What if I used drawer pulls as hangers!?!? I have seen them used on Pinterest to hang frames, why not purses! Or course, all of the pins I could find put the knob onto a wooden board, and put those on the wall. I wanted the knobs to go directly into the wall. So, with a little ingenuity, we went to work. For more on how I did that... go here

After a little hard work, we put up four drawer pulls/knobs and now my pretty little closet features four of my purses. 


And just for a little more pizazz, here is a before and after photo:


*Okay -- Time for a poll! You know the little thingys that are an drawers or cabinets, and you pull them to get the drawer or cabinet open? What do you call them? Drawer pulls? Knobs? Please tell me! (My husband and I disagree as to the proper terminology.) Your comment/vote will be greatly appreciated!


Adventures in DIY: Drawer Pulls/Knobs as Purse Hangers


Desperately wanting to display my purse collection in my closet, I wanted a way to hang them directly on the wall. I could have used those resticky 3M hooky-thingys. I could have used hooks. But no. I wanted drawer pulls. Knobs. Whatever you call them, that is what I wanted. Up to this point, I saw several pins and posts of people using them as coat racks, and necklace holders. In each of those cases, the pulls/knobs were first mounted to a board and that board was displayed on the wall. I wanted my pulls/knobs protruding straight from my wall! So with a little ingenuity, a little bit of sweat equity, I got my purse hangers! 


Materials Needed:
Power Drill
Hacksaw (Or a Dremel tool if you are cool enough to have one.) 
Drawer Pulls/Knobs
Wall Anchors

We started out by using the hacksaw to hack off the head of the screws that came with my drawer pulls/knobs. If you have one of those super cool dremmel tools that can cut the head off the screw, well that would be awesome. But we had to make do with a hacksaw. It worked, it just took a while. Whereas I just held the screw with my hands and hacked, my husband found it easier to hold the screw with some pliers while hacking.


After beheading the screws, we drilled holes in the wall to hold our wall anchors, appropriate to the size of the wall anchor. Note: Be sure to purchase wall anchors that fit properly with the screws from the drawer pull/knob package. 


After drilling, we hammered in the wall anchor. 


Screwing the headless screw into the drawer pull/knob first, we then screwed that directly into the wall anchor. 


And the finished project made my heart happy. 


I also tried something new and linked this project to Hookin Up with HOH.

HookingupwithHoH

Sunday, June 24, 2012

Photo of the Week: Week 26

Ruh, roh. He's got crazy eyes and a power drill! 
Happy Half Year 2012!

This is week 26, which means we have made it half-way through 2012. I don't know about you, but for me, this roller-coaster of a year has flown by! So did this week!

The week started off with a visit from my bestie, and her daughter (who happens to be my Goddaughter.) We did all kinds of fun stuff — we laughed, we shopped, we traveled, we ate — it was awesome. One of the highlights was going to Stanford University so my Goddaughter could see her 'future school.' She just happened to be wearing her "I ♥ Stanford" shirt, so it was quite apropos. I had a great time with my girls and I cannot wait for the next visit.


This weekend, Aaron and I got a lot of little things done around the house. Being the proud homeowner I am, I took some snapshots of all the little things that got done, that add up to a big smile on this girl's face.

A knob. Or a drawer pull. Or a knob.
More details in another post... 

Yay! Somewhere to hang my towels! 

Isn't he cute? He is drilling a massive hole in the wall for the robe hook I failed to take a photo of. 

Smell that? Me neither. That's because we finally changed the filter.
Not that it smelled before, we just have had the filter for months and
were too lazy to replace it. But we had the ladder out, so there you go. 

The iron holder, which I bought months ago,
was finally hung in the laundry room.
Yay, a place for the iron to go and never leave from
because I never iron anything.  

Thursday, June 21, 2012

Adventures in DIY: Using Ribbons to Hang Photo Frames


I got this idea from a friend of mine, while on a tour of her home before Bunco. I thought I absolutely had to do this with my wedding photos! I posted a picture of the finished project on my Facebook page, and some friends suggested I add it to Pinterest. But before doing that, I realized that I get super frustrated when people post things on Pinterest, with no link to directions on how to DIY! So, here are the steps I took to make this cute little frame display.


Materials Needed:
  • Curtain Rod    And its required accessories; we used a power drill, because my husband likes power tools
  • Three frames     I chose 8x10 frames that I got on clearance at TJ Maxx, with photos from our wedding
  • Sturdy Ribbon
        I used three different colors of 2" grosgrain ribbon I had left over from the wedding. 
  • A staple gun and staples

First, I enlisted the help of my husband to put up the curtain rod. He loves using power tools! The curtain rod we used was a random rod we used at the old house that would have been on the garage sale list if it weren't for this project. We decided that we wanted the rod to be pretty high up on the wall, so that the finished project would take up the majority of the wall. He used dry wall screws, so that the curtain rod could hold the weight of three fairly large and heavy wood frames. 


While he did that, I measured the distance from the curtain rod to the top of the headboard and cut six lengths of ribbon (two of each color) in double the measured length. Be sure to put your pictures in the frame first, as depending on how much you like to staple things, it might be difficult to change the photos out. I used several staples to secure the ribbon to the frame, on both the top and bottom edges. 


After that, I lined up the frames in the order I wanted them hanging, and we slid the curtain rod through the loop of the ribbon. I also had some leftover white pomander bouquet balls from the wedding, so I slid one of those through, between each frame. My handy tall husband simply held the curtain rod level and lifted it into the wall brackets. And we were done!


I think it turned out quite pretty! The possibilities are endless! Have fun! ♥

Oh, hey, I also linked up to... 

HookingupwithHoH


Wednesday, June 20, 2012

Photo of the Week: Week 25 -- Happy Father's Day!

This week, I want to thank all the Dads.

To my dad, I love you and appreciate all you do and all you have taught me....

Dancing with my Dad on my wedding day... ♥

That would be my dad, sitting on my Grandma's lap, sucking his thumb,
Yeah, I am related to both of them... 

Smiling for Grandpa

To my father-in-law, aka Iowa Dad, another fabuous father...

Dancing with (Iowa) Dad on my wedding day...

My (Iowa) Dad and my (Iowa) Brother! 

And for the first time, my baby brother, who makes a wonderful daddy to my little nephew....

Proud daddy and his son

Happy Father's Day to all the Wing Daddies!


Monday, June 18, 2012

Adventures in New York!

(Okay, so I wrote the blog back in April, but never posted it because I was too lazy busy to download the pictures from my camera. So, in an attempt to put off the last few boxes of unpacking in the house – VoilĂ ! I give you our Adventure in New York!)

K + A + Central Park = ♥
Aaron and I took a short little trip to New York this weekend. He and I have both been, but never together.

We took a red-eye out of San Jose. That in itself was a bit of an ordeal. Since the new house is only 15 miles away from SJC, we decided to take a taxi from the house to the airport. Let's just say that the taxi company made a few errors, causing them to be a little late, and causing me to have a panic attack about making our flight. Luckily, we arrived just in time! The flight was pretty much the same ol' same ol'. We flew JetBlue, so we got earplugs and eye-covers for sleeping. Only neither of us got much sleep.

 We arrived to NYC without a hitch and headed out into the city, with my friend Heather as our guide. We stopped and parked in Astoria, and took the Subway straight to Times Square. There we had breakfast at a cute little cafe called Evergreen. Afterward we checked out the new(ish) Times Square Disney Store. From there we walked to Central Park and explored several acres of the park. We stopped in Columbus Circle to watch a homeless person wash her hair in the bathroom, and decided to walk back to Times Square via Fifth Avenue. Aaron was a trooper about Heather and me wanting to stop in several stores. I was intrigued by the live models in the Hollister store, but alas we kept on trekking.

After we got back to the Times Square, we stopped at the TKTS booth. Honestly, I wasn't super jazzed about any of the shows featured on the board, nor did I want to wait in the humongous line that wrapped around the square. We decided to check out the 9/11 memorial, get some pizza, and head back to Heather's in Upstate for some sleep.

In order to get into the 9/11 memorial, you have to preorder tickets online. Thankfully, Heather had gotten us tickets for 5:30 that day. We picked up our tickets and headed to the new memorial. The line to get in was just as long as any brand new Disneyland ride. But the wait was worth every second. Even though the project was not complete, it was beautiful and awe-inspiring. The memorial consists of two giant pools, set where the two towers once stood. The names of all the lives lost during 9/11 and the 1993 WTC bombing were cut through the metal border surrounding the pools. The memorial museum was still under construction, and was unavailable during our visit. I felt the most fascinating part of the memorial was the survivor tree. A 9/11 guide told us the story of the lone tree, found in the rubble of the WTC buildings, month after the attack. It was taken to a nursery to heal, and after nearly a year of rehabilitation, it was brought to the WTC site. The tree was planted near the memorial, and shortly thereafter, the horrible hurricane and storm swept over the East Coast. That storm tore the tree from the ground, unearthing half of her roots. Luckily, she was able to recover, and stands proudly in the 9/11 Memorial.


Following our patriotic tour we decided to get some authentic New York style pizza. We ordered a pie, ate it properly (no knife and fork here, thank you Jon Stewart) and headed back to the subway to get some sleep at Heather's.

The next day we did some much needed sleeping in. We got our obligatory Dunkin' Donuts coffee and donut breakfast for the road, and headed to the big city. Upon arrival we headed straight to Max Brenner's for "lunch" if you can define a meal of chocolately desserty food lunch.


In need of burning off some of those delectable carbs, we walked around for a while and headed toward the Brooklyn Bridge. It was fabulous! The NYC skyline was absolutely breathtaking.


Following our walking tour into Brooklyn (and our visit to one of the most dodgy subway stations I have ever encountered,) we headed over to the Staten Island Ferry. This was our attempt at seeing the Statue of Liberty on a budget — the Staten Island Ferry is free, and floats right by Lady Liberty.


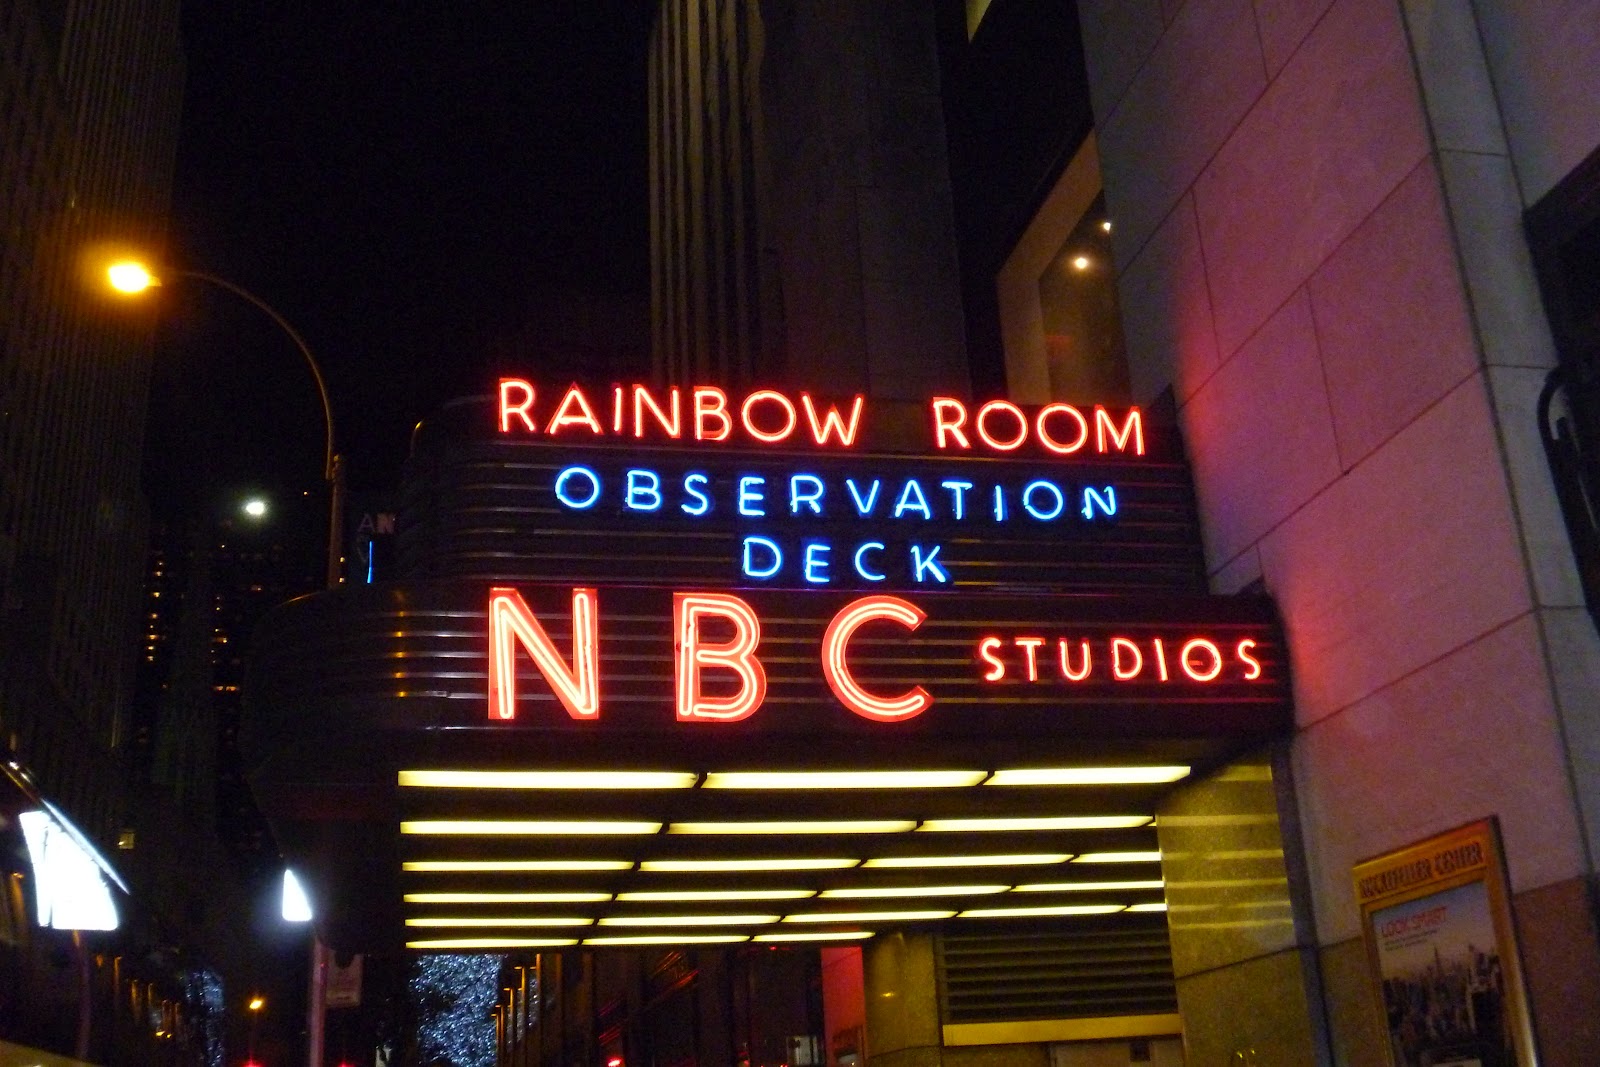
As if our New York trip wasn't cool enough already, we made our way to Rockefeller Center for the coolest part yet. My friend Heather's good friend, Claire, got us tickets to see a live taping of Saturday Night Live! Aaron and I watch the show regularly (though never when it airs, we DVR the show and watch it later!) Needless to say, we were uber-excited to get to see the show live. 


The whole process was super cool. Of course, cameras are not allowed, so the only photos we have are of us waiting  in the initial line. Even that was fun. But, wait, it gets even cooler! Heather's friend works at SNL, and following the show, she gave us a quick back-stage tour. We got to see everything! It was uh-maze-ing. Aaron got to say hello and good work to one of the male leads, who smiled back and said, "Thanks, man." At one point, I was worried about getting left behind as we zig-zagged our way through the area and nearly ran into one of the female leads, who was very polite about me nearly knocking her down. I am still smiling from that experience. Many thanks to Heather and her fabulously generous friend Claire, for allowing us the opportunity. 


We knew that there was absolutely no way we could top Saturday night, so Sunday we spent the day leisurely getting ready for our next flight. Heather, Aaron and I had a nice lunch at Cheesecake Factory, and we were off to the airport for the next part of our adventure on the East Coast – Washington D.C.!